A Little Hip Love - 4 Poses to Help Release Tight Hips
Shakira was right… hips don’t lie. And often times, we totally ignore what our hips are telling us, until they scream.
Typically, people will realize they have tight hips when they wake up having lower back pain. Are you nodding your head? I know I am.
Your hips tend to carry the brunt of our stress and tension. And as uncomfortable as it can be to release that tension through stretching and a regular yoga practice, it’s more uncomfortable to carry that tension and stress with us every single day.
But fear not, all that hip tension CAN be worked through if you give yourself a little love. We are all guilty of sitting a little more than we should, and while we might not be able to help it due to work and commute constraints, we DO have the choice to get up, go for a walk, and do a few stretches throughout the day.
I actually tend to watch a lot of TV at home in these poses, so, you can continue to binge watch your favorite shows, while releasing those hips.
Ready?
Here we go.
Half Pigeon
This one is the mother of all hip stretches, so please take some time to get to know this pose. I typically get to this pose by starting in a Downward Dog, lifting one foot into the air, bending my knee and giving myself a few hip circles. When I feel ready, I guide my knee to the ground between my hands - slowly guiding my shin towards the front of the room. This is where you have to really listen to your body, you might be able to get your shin parallel to the wall in front of you, or it might be at a 45 degree angle. Both work. Make sure your hips are square, before you settle in. You can see in the photo that I’m not fully on the ground. I typically use a blanket or pillow for support, and you should too if you feel yourself floating while settling in. When you switch sides, you may notice that one side feels different than the other - that is totally normal.
2. Spine Twist
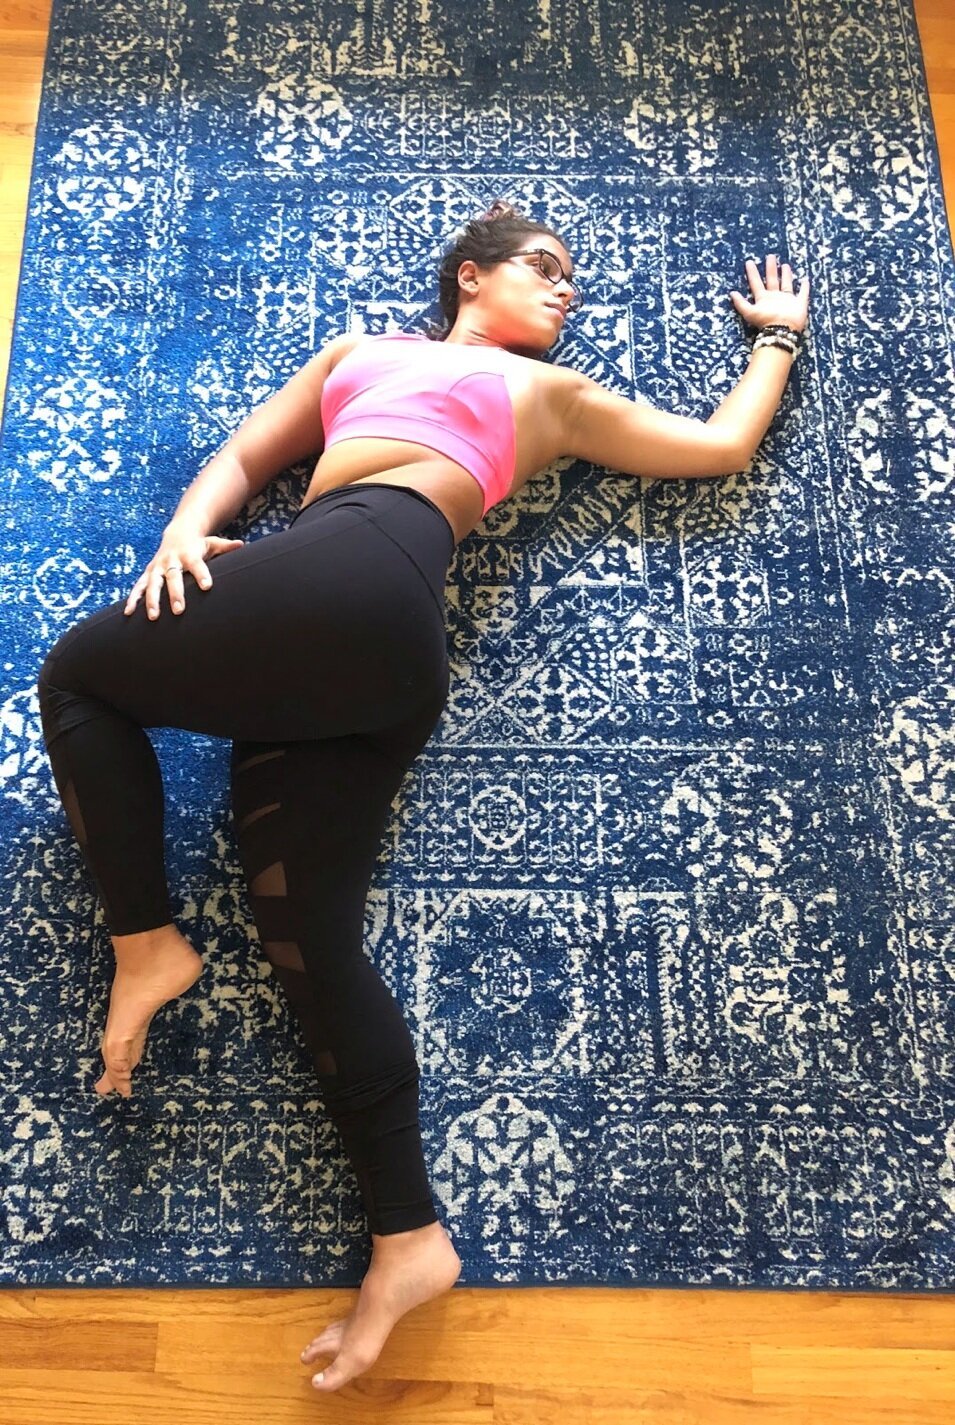
I love doing this when I wake up and right before I go to bed - it’s a gentle way to get my body ready for the day ahead, and a great way to wring myself out after whatever the day threw at me. I start with both feet straight up in the air, and breathe here for at least 5 breaths. A simple flip in perspective can help soothe the mind. From there, lower your right leg all the way to the ground and hug your left knee in.
On your next exhale, take that left knee and guide it over to the right side. To deepen the twist, look over the opposite shoulder. After a few breaths, open the left knee over to the left side, to stretch the inside of the hip too. Again, you’ll notice a difference between both sides - we all have one dominant side, so spend time learning a little bit more about yourself.
3. Reclined Figure 4
You can also take this sitting, if you want to sneak in a stretch at your cubicle (yes… I have done it #stretchingandspreadsheets). If you are laying down, start with both feet on the ground. Choose which leg you are going to start with, and then place the side of your foot on the top of the opposite quad. Gently open that knee over to the side, opening up both the inside and outside of the hip. Often times, this is enough of a stretch. If you would like to go deeper, lift the planted foot to 90 degrees.
Gently guide the lifted leg by hugging it into your body. You’re always in control, so make sure you explore which angles work best for your body. If you are sitting. Start with both feet flat on the ground, and then take one foot over to the opposite quad. You’ll feel it just as much - I promise.
4. Cradle
We are literally going to be babying our hip/glute here. Start laying flat on your back, and choose which leg you are going to start with. Slowly crunch up, and work your knee into your elbow, and your foot by your hand. Now, you start to rock it slowly side to side - almost like you’re rocking a baby back and forth. Slow and steady rocking will help you pinpoint where the tension is, and once you feel it, hold for a couple of breaths. Then, slowly release to the ground. This one is very intense, so be patient with yourself as you learn the best ways to release tension.
There you have it! Try doing these stretches for a week, and see if you feel any difference in how your hips and legs feel. You may be surprised at how much better you feel!
YogaPro Amanda Fakhreddine Goedde is the blogger behind The Sweat Life Boston (@thesweatlifebos on IG), and has spent the last 6 years chronicling her journey to healthy and happy. She is a fitness instructor, yoga teacher, and body-positivity advocate. When she’s not teaching or working her full-time editorial job, you can catch her hiking, decorating her new house, or sharing what she’s reading!


